Week 8 of imaging class was about learning few advanced tools and concepts of Adobe Photoshop and creating movie posters using all the techniques of photoshop.
A) We started with learning the gradient tool:
-When you right click on the colour bucket tool you will find a dropdown box appearing with a gradient option
-on the menu bar you will see a preset gradient bar, as you double click on it you will find various preset gradient options.
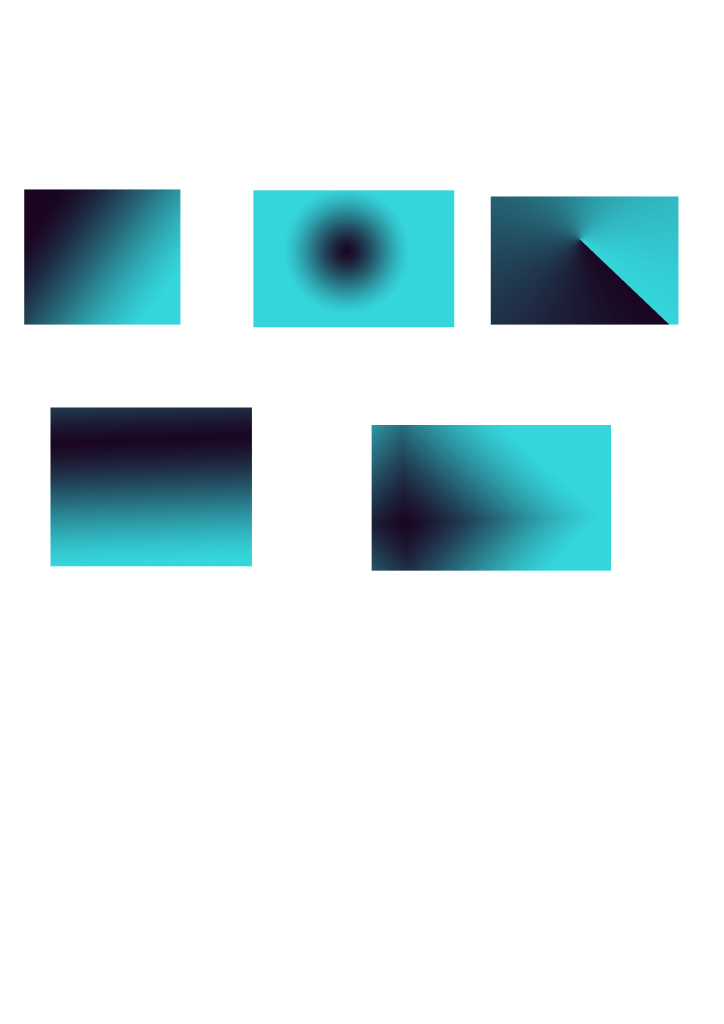
-Next to the gradient bar on the menu bar you will get to see different types of gradients, like: radial gradient, angle gradient, reflected gradient, linear gradient and diamond gradient style.
-you can also create custom gradients
B) merging a picture with a gradient effect:
-place a picture on a new canvas
– then add a new layer
-using the rectangular gradient make a rectangle of the size of the canvas.
-then fill gradient using the gradient tool, you can customize the gradient and add any effect you wish.
-then re-arrange the layers as the layer with the picture should be placed above
– you can then adjust the opacity and add effects from the layer pallet.
– note very important: don’t forget to rasterize the picture, without which you cannot add any effects.


C) The next interesting tool we learnt was the magic wand tool:
-the magic wand allows you to select similar background and help in disappearing it
-place a picture on the canvas
– then select the magic wand tool and select the portions of the picture you want to delete and click delete.
– for portions that aren’t deleting you can increase the tolerance level in the menu bar and that portion can be deleted.
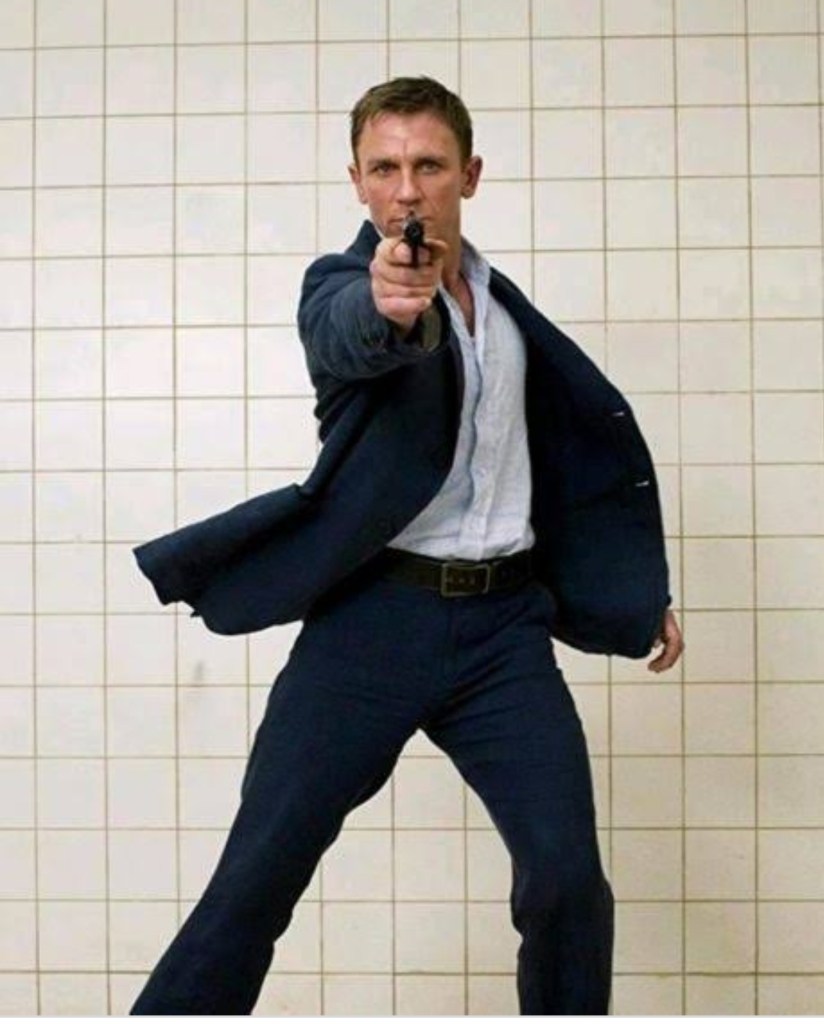
ORIGINAL IMAGE 
IMAGE AFTER USING MAGIC WAND TOOL
D) The next tool we learnt was the clip mask:
Clip mask allows you to place an image inside an object or text.
E) CLIP MASK IN AN OBJECT:
-Draw an object using a rectangular marque tool or an elliptical marque tool.
-Then fill colour in that object.
-Add a new layer
-place the image you want to clip mask in the object
-re-arrange the layers with picture above the object
– right click on the layer which has the picture and select clip mask.
– the image will take the shape of the object.

CLIP MASK IN A CIRCLE 
CLIP MASK IN A RECTANGLE
F) CLIP MASK IN TEXT:
– the text you want using the text tool
– add a new layer and place a picture you want to clip mask
– then re-arrange the layer with picture above the text
– right click on the layer in the layer panel which has the picture, and click on clip mask
– the image will fit in the text


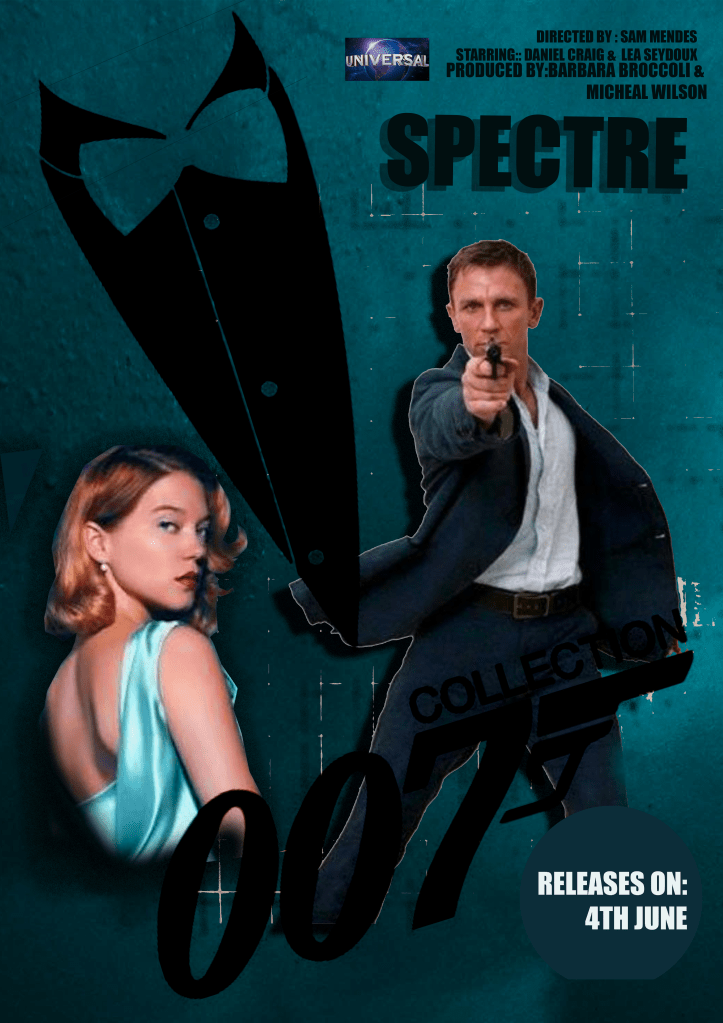
G) activity:
We then had an activity of creating a film poster from scratch using all the tools and concepts we learnt till now in all the week of photoshop class.