The design imaging class according to me means working on adobe illustrator, adobe photoshop and in design collectively.
Adobe illustrator which uses vector graphics .Whereas adobe photoshop uses raster graphics.Illustrator as well as photoshop helps in manipulating images, used for poster making, images etc.
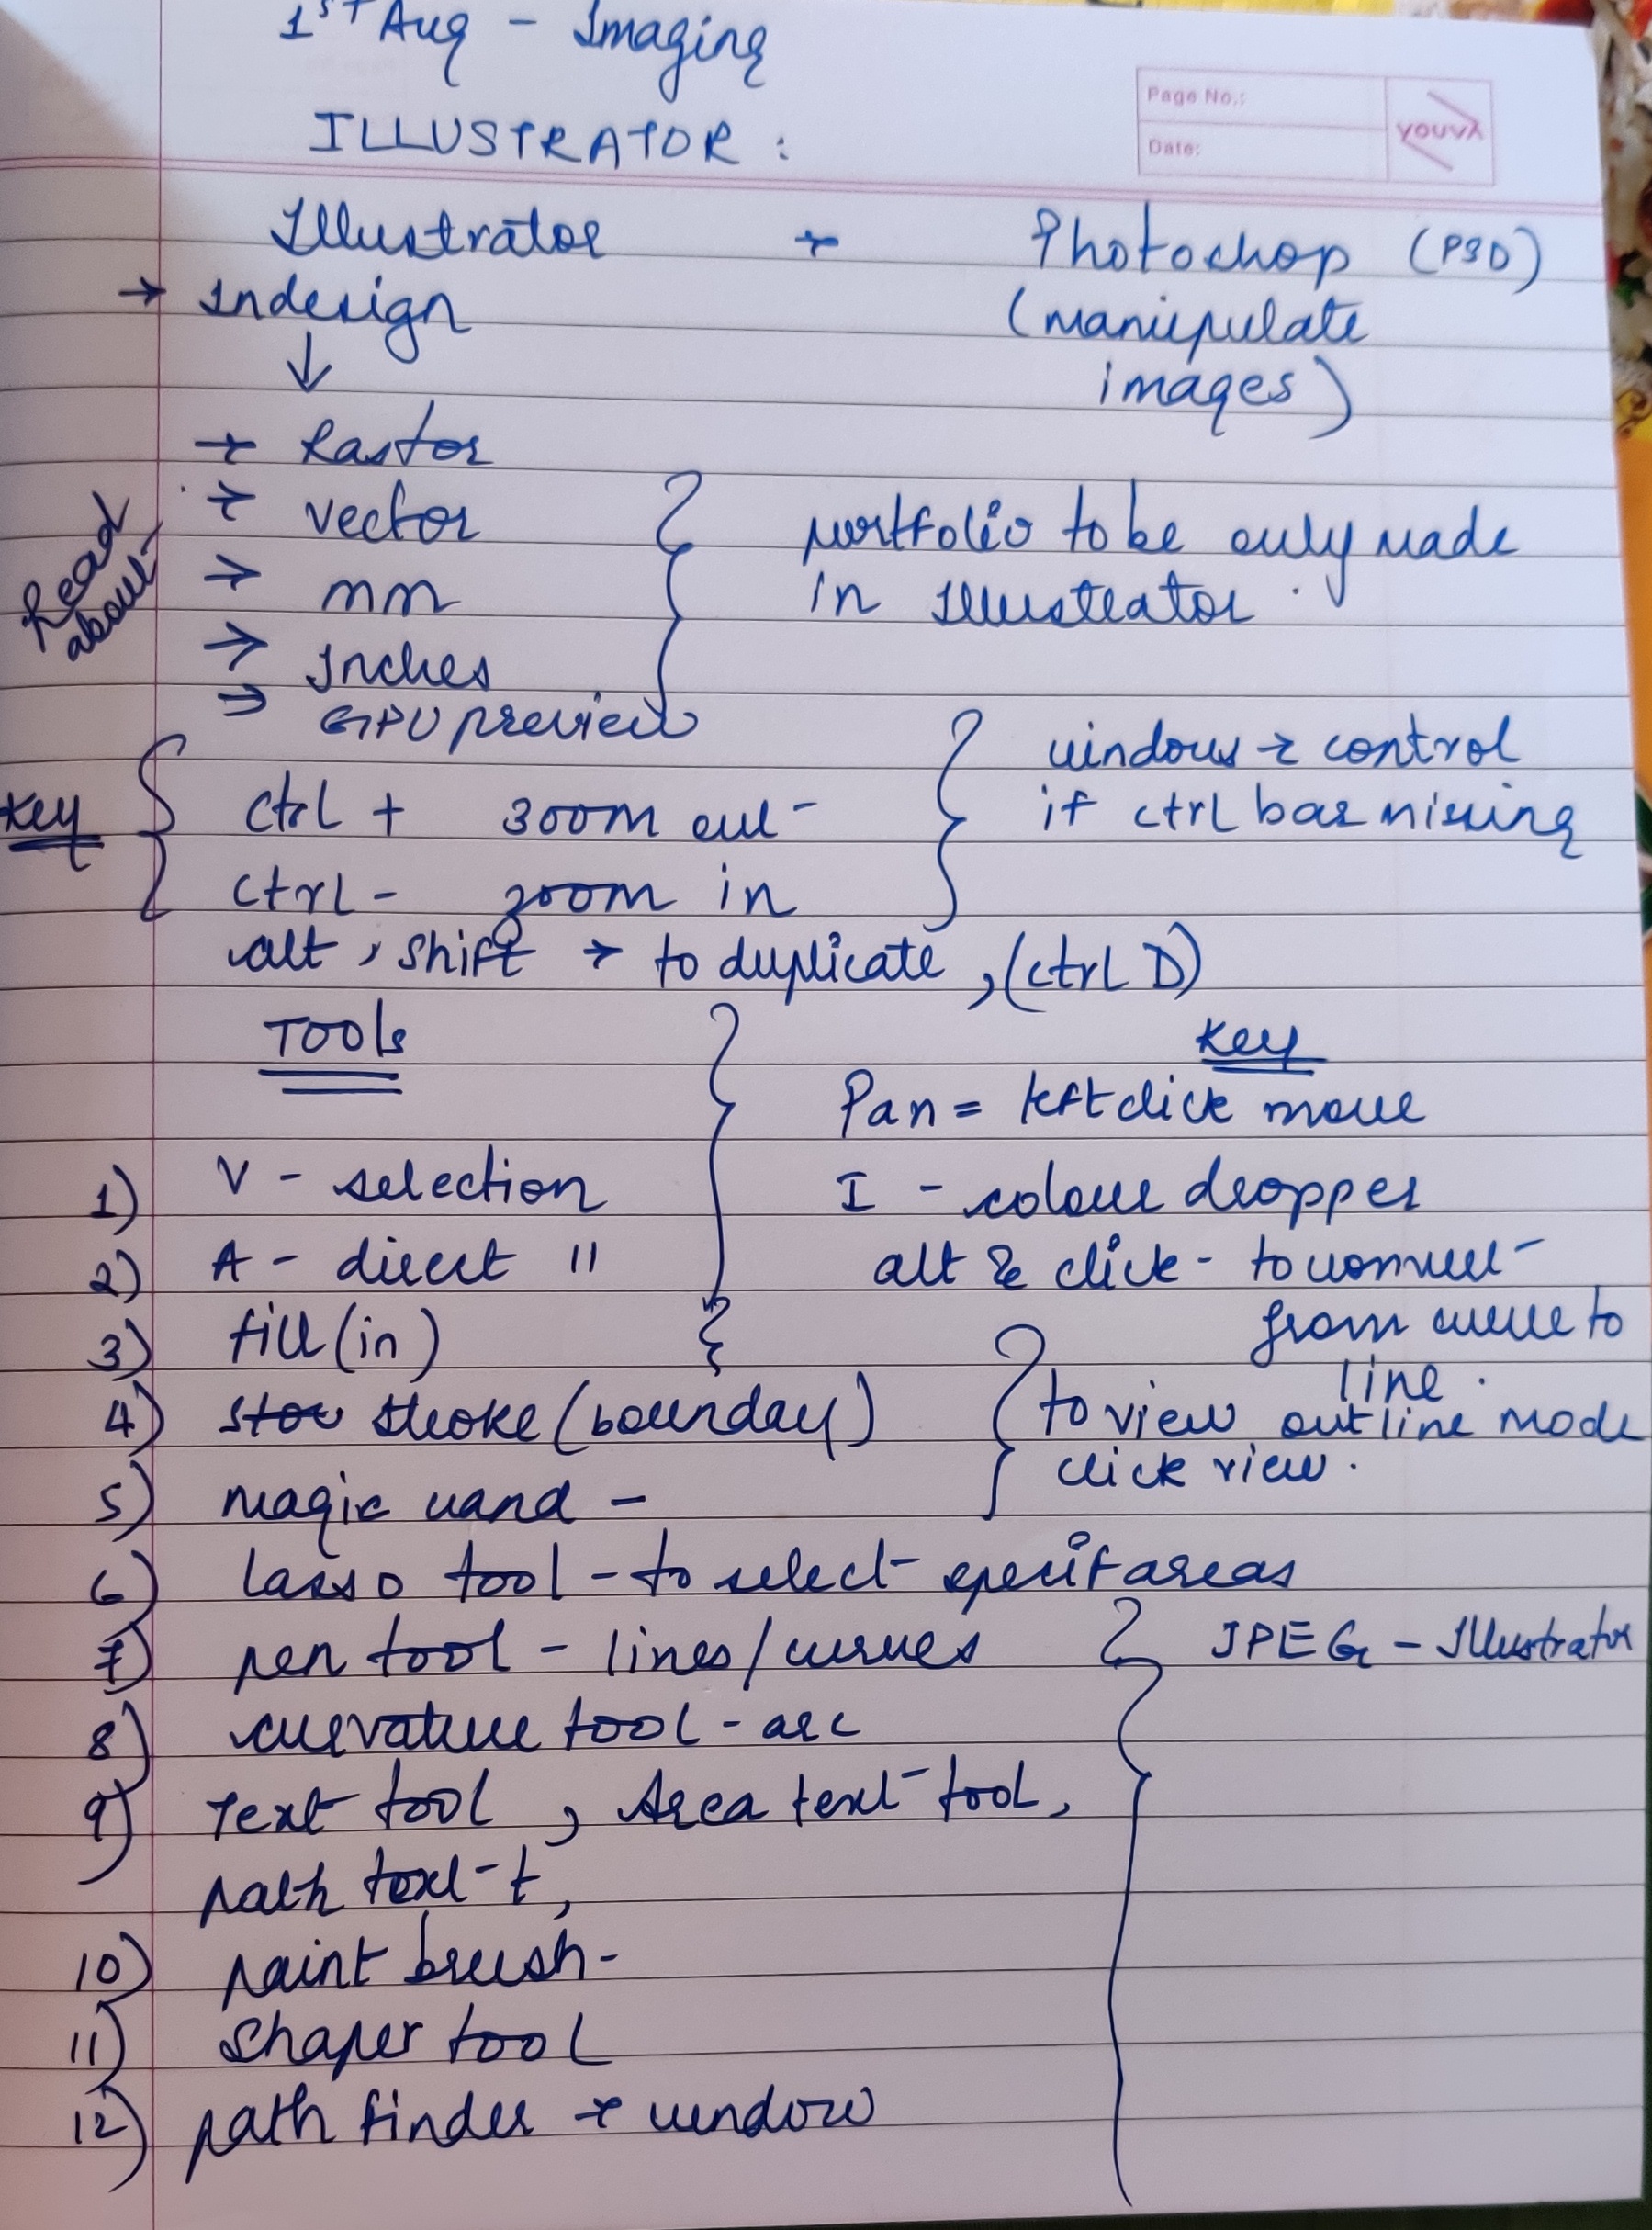
In the first class of imaging , we learnt about how to use Illustrator, various tools and its working of illustrator
- The V selection tool – it basically helps in minimizing or maximizing the size of the image or object by just dragging in or out from the endpoints of the image, also helps in changing the placement of the picture or image.
- The A tool – is a direct selection tool
- The magic wand tool
- The lasso tool (Q) – it helps to select specific areas on an art board be it image, object, figure or shape
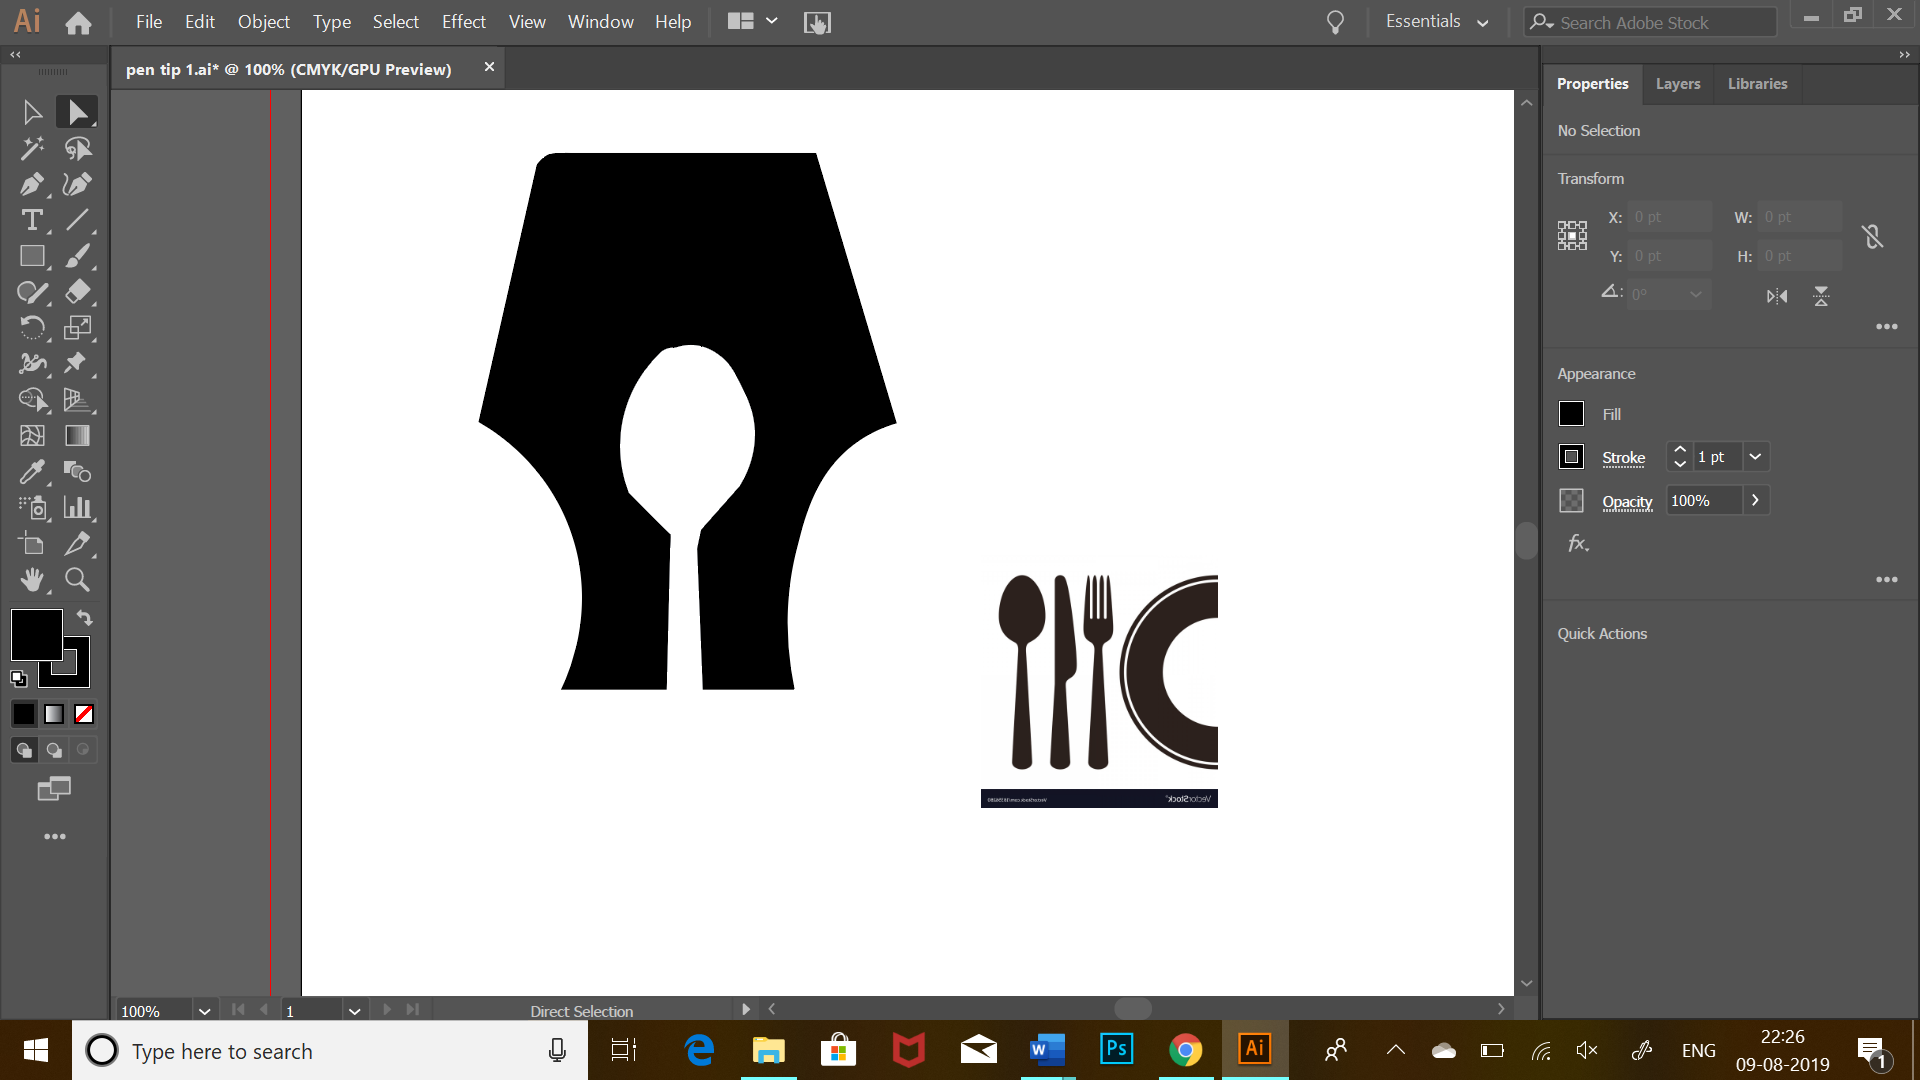
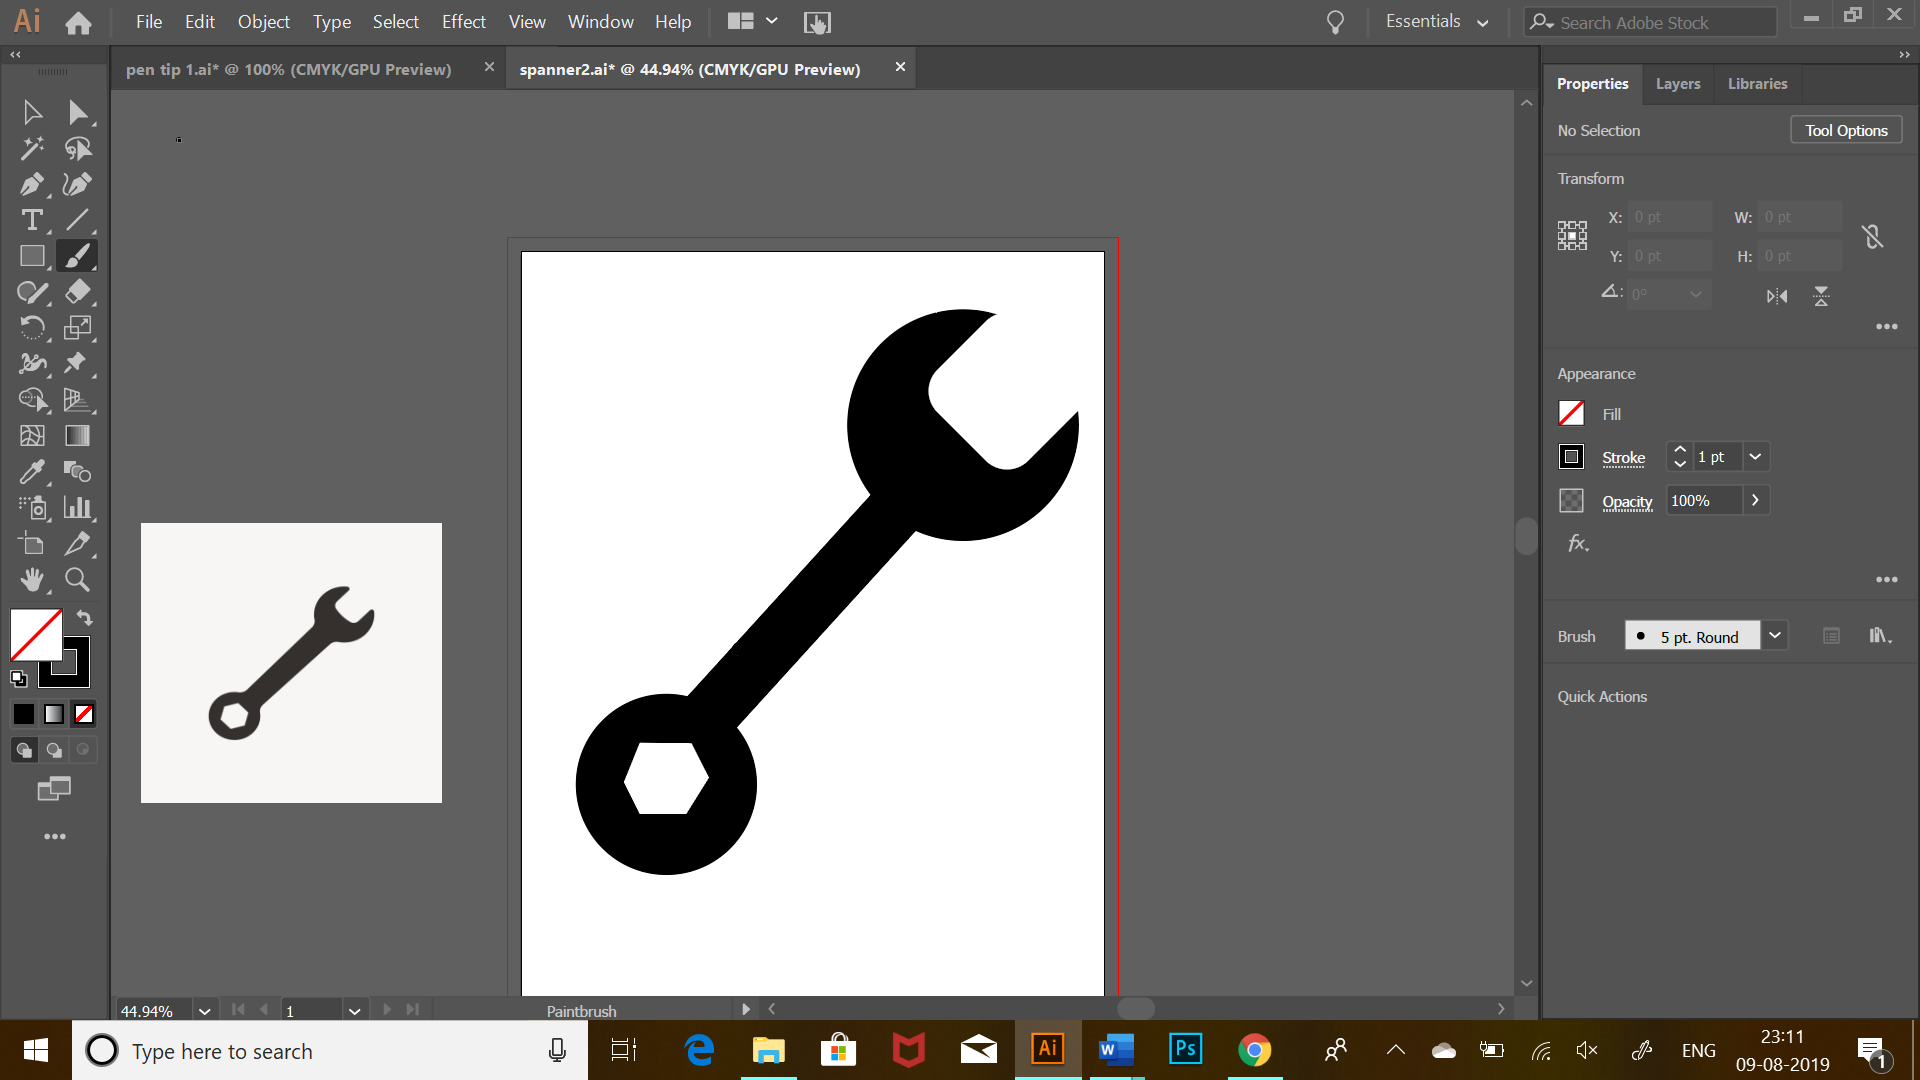
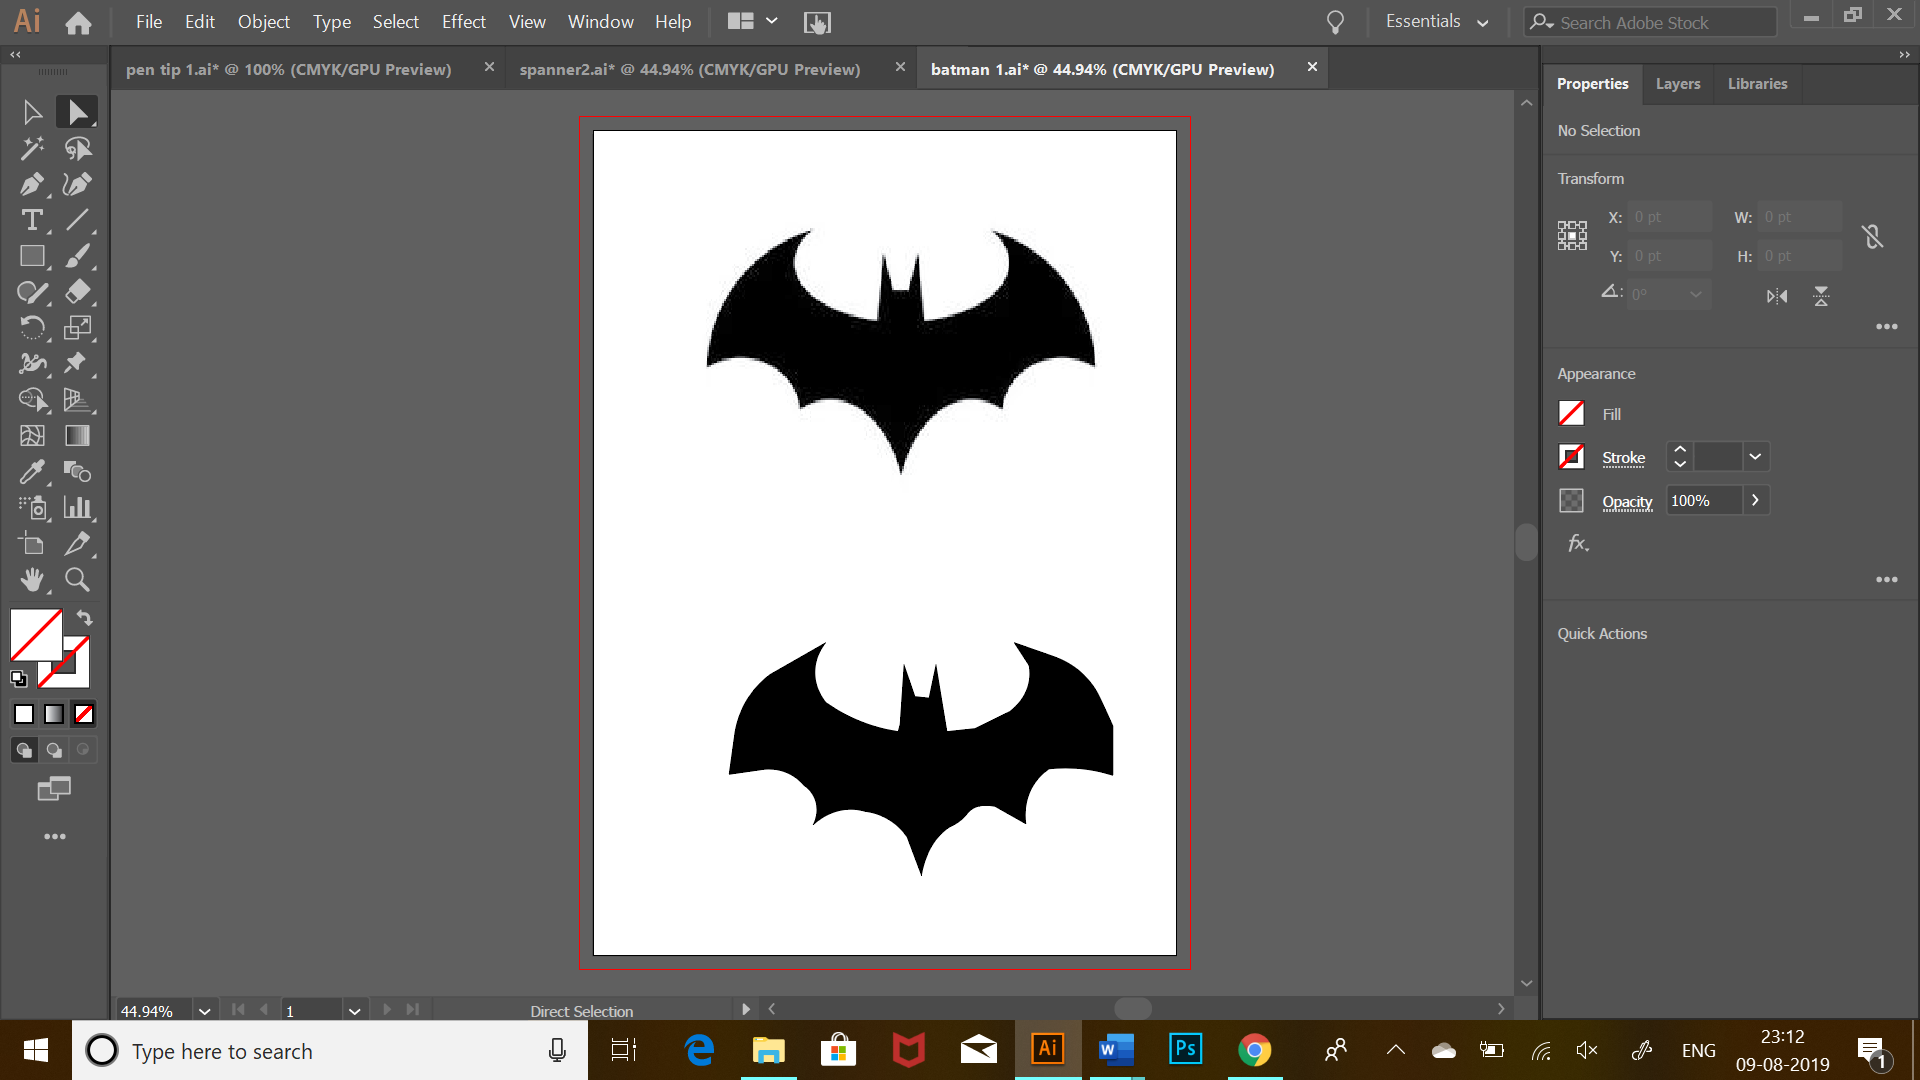
- The pen tool- helps in freehand drawing, to draw lines or shapes.
- The curvature tool- it helps to curve out the lines, helps to give a detailed curves and lines, helps in drawing all complex objects.
- The text tool- helps to add texts to required places , eg : writeups in posters
- The paint brush tool- helps to add colour using different thickness of brush and using different colour.
- The basic square and cirle tools – to draw direct square,rectangle,circles.
KEYS-
- Ctrl + ——– zoom out( enlarge)
- Ctrl- ———-zoom in (minimize)
- Ctrl D ——— to duplicate
- I —- colour dropper
- Alt and click ——— to convert from curve to line
We learnt how to replicate certain images by either manipulating them , by tracing them using pen and curvature tool or by using shapes and path finder tool . Some of my work are as below: